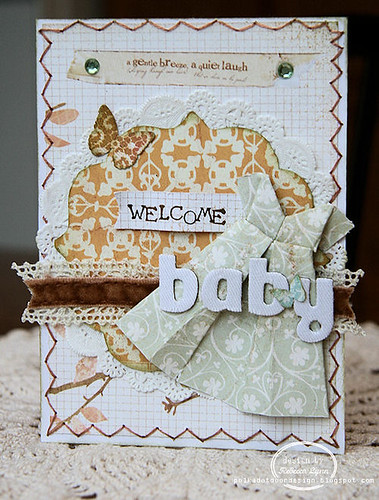
A few months ago I saw an adorable little card with a handmade dress embellishment and decided then and there, I was going to master the skill. It took a little bit of searching since I had never attempted origami before and had no idea where to begin, but I finally found a a
youtube tutorial that helped me through the process and help me create something that has become one of my favourite little tricks that I've picked up. I've attached the youtube link to this post as well, just in case my photo tutorial and instructions are a little hard to follow. It took me a few tries to get it just right.
My most recent Scrappin Patch kit came full of yummy Prima Songbird papers and they were just the right texture and pattern for this little dress. You don't want to use a really heavy paper because it doesn't fold easily, but you also don't want to use a lightweight paper as it will tear! Some medium is perfect.
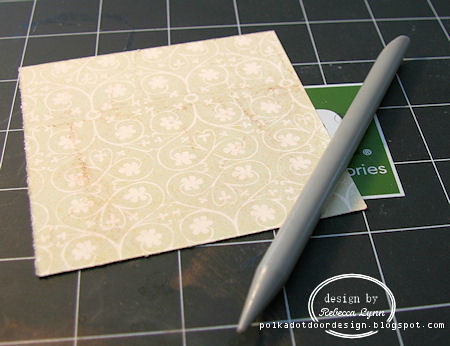
The only tool you (may) need is something to press the folds and help get them nice and sharp. But fingers work well too! You want a square piece of paper approx. 1/2 inch larger than the finished size you want to end up with. In this case, I am using a 3.5 x 3.5 inch square.
Fold your paper in half. Crease this line well.
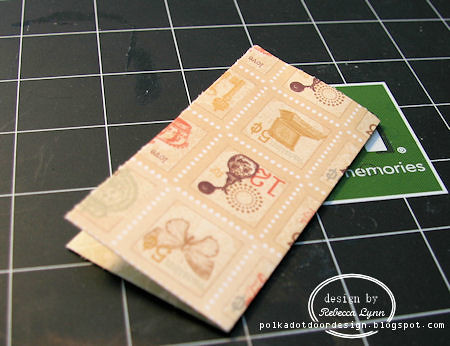
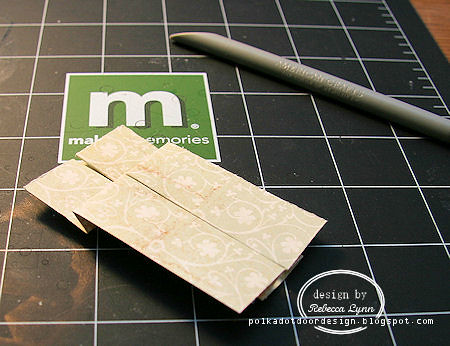
Then unfold your paper, and fold the edge to the center crease.Repeat with the opposite side.
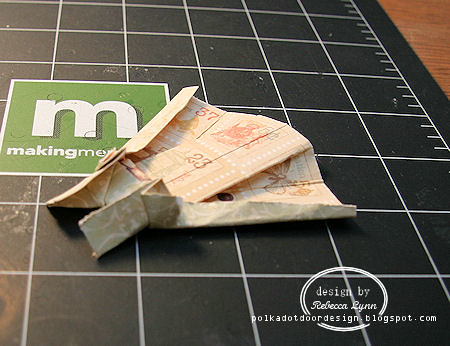
Unfold your paper again and fold half of your halves, in half again. Its a bit complicated to explain, but hopefully you can see what I mean in the photo. Repeat. The end result is that you want it to look like this :
Be sure to crease these folds well. This is the basis of your dress form and the sharper the lines are, the better.
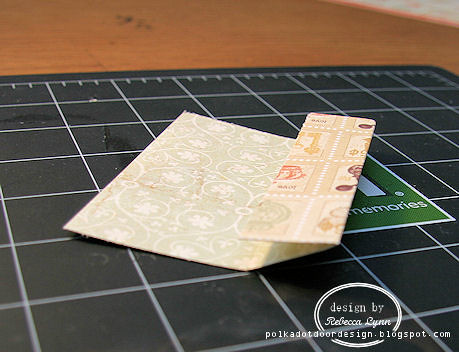
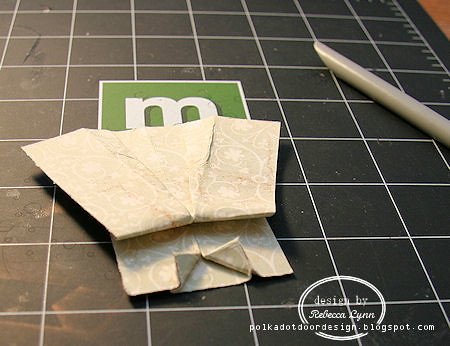
Now turn your paper over and fold it at about the 1/3 line. This fold is very customisable, as it creates the separation between the skirt and the bodice of the dress. Depending on the style of dress you want to create, you may want to change the length of this fold.
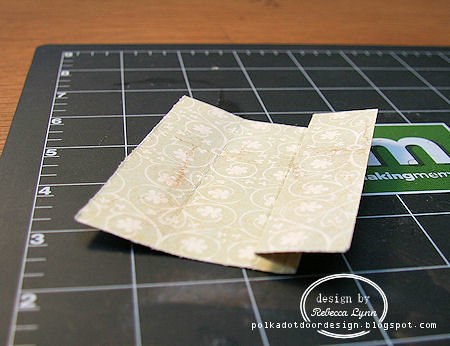
Fold it once over itself so that your paper now looks like this.
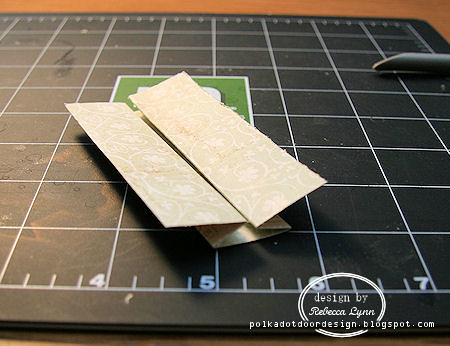
To create the full dress, you want to gently pull one section of the skirt so that you are opening up the part from the bottom up. The waistline will no longer be straight across, but a slight "v" once both sides of the skirt are pulled open. Crease these lines sharply.
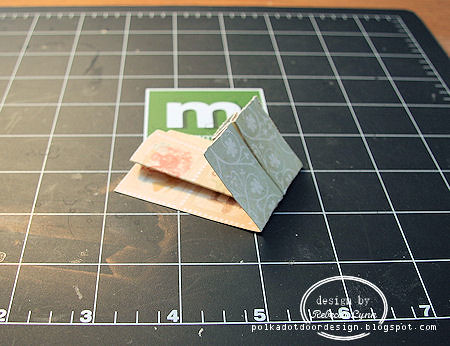
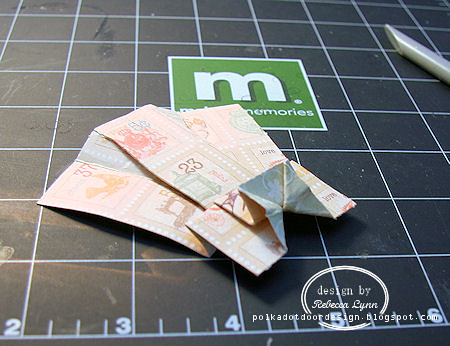
We're now creating the neckline. Bring the corners of the topmost layer of the paper and fold inwards.
This is probably the trickiest part of the dress... Unfold your neckline, turn the dress over and pull the corners inside, pulling down the excess paper as you go so that there is a full "v".
This is how the front should look.
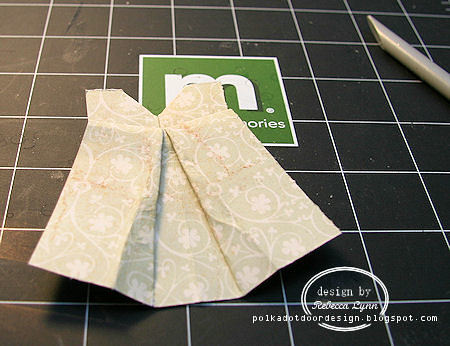
Again on the backside of the bodice, fold the sides of the bodice in, you may have to crease the skirt a bit to help everything line up as well. Then take the corners of your turned in sides and fold them out again, creating the sleeves.
and thats it, you're done! Hope you were able to understand my instructions! The
youtube video is an excellant resource if you get stuck.
I just love how easy this dress is once you get the hang of it. You may need to practice on scrap paper before you attempt working with your nice paper, but its such a fun little dress, and perfect for so many applications. Now that I know how, I have to tell myself not every card needs a dress. Little boys really are more into trucks and puppy dogs ....
Thanks for stopping in!
Read more...

